How To Paint a Wood Dresser

Refinishing a Dresser
I believe furniture is one of the best areas to spend money on for the value because of all the use it gets over its lifetime. But, that doesn't mean that saving a bit of money by putting work into it isn't a good idea. Refinishing furniture is an inexpensive way of getting great furniture on a budget or it can be ideal for getting the perfect color. My top three reasons to refinish are
- Save money by purchasing used furniture
- Getting something old can be very stylish
- Getting the perfect color
Refinishing a Dresser
Our daughter has outgrown the changing table we currently use to store her close and my wife wanted to replace it with a dresser. In our room, we have my grandmother's old dresser from the 1940s. It's part solid wood and part laminate and still in pretty good shape. My wife purchased a new dresser for us and she wanted to get Lila a peacock blue dresser. So we decided to refinish our old dresser peacock blue for our daughter.
Refinishing a dresser requires a few tools to help make it easy. I'm a beginner at this, so if I can do it, pretty much anyone can.
Tools
- Screwdriver or electric screwdriver
- Automatic sander
- Sandpaper
- All purpose wood primer
- Paint
- Paint brushes
- Paint roller
- Paint stirring stick
- Paint tray
- Paint drop cloth
Remove the hardware from the dresser
Click thumbnail to view full-size

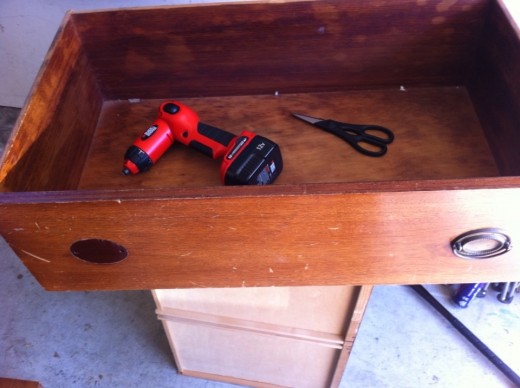

Remove the handles and feet
If there is any hardware on the dresser, the first step is to remove all of it and put it in a bag to reuse. I used an electric screwdriver and pulled off all the handles in this example. After the hardware is off, clean each draw and the entire dresser by wiping it down.
Sand the dresser
Click thumbnail to view full-size
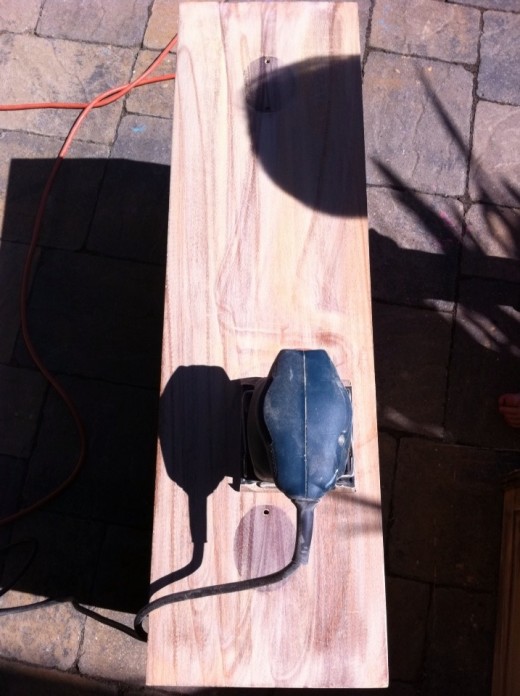
Sanding the dresser
Preparing the dresser to refinish is one of the most important steps. I used 150 grain sandpaper and an electric sander to sand the entire dresser. I did the face of the drawers fist and then the body of the dresser. If the dresser is ornate, a dremel tool can be used to sand out all the grooves and engravings. I did the grooves by hand by folding the sandpaper in half and running it through all of them. For the big flat surfaces, the electric sander saves a ton of time and work. It's worth getting one of these for this type of work. The only downside is that it throws dust particles everywhere so my tip is to sand outside in a place where it doesn't matter if dust gets everywhere. Once done sanding, get an old towel and wipe off all the dust from the dresser.
Priming the Dresser
Click thumbnail to view full-size


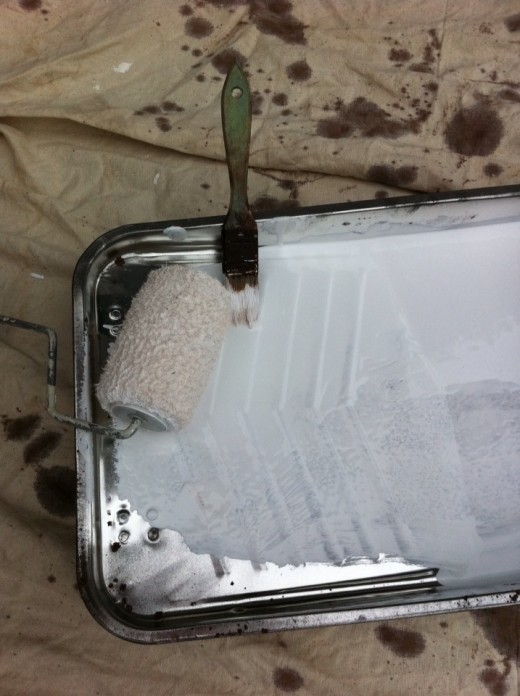

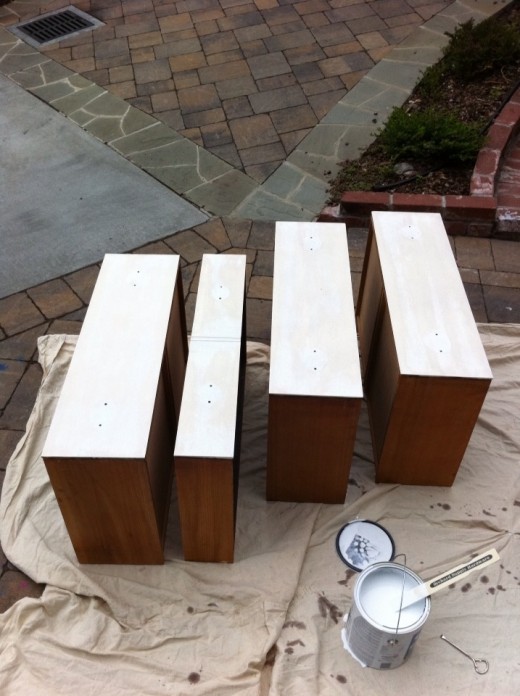
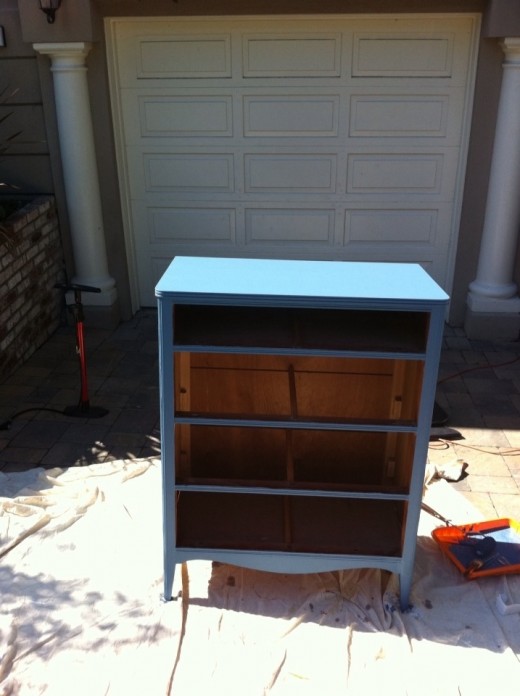
Priming the dresser
When refinishing a dresser the two main options are to stain or paint the dresser. If staining, select the stain and apply it, however, if the plan is to paint the dresser, then a priming coat is recommended.
Get an all purpose primer. i selected 1-2-3 All Purpose Primer. Pour it into a pain tray and apply one coat evenly to the dresser.
Tools for this step
- Primer
- Paint tray
- Brush and Roller (small roller)
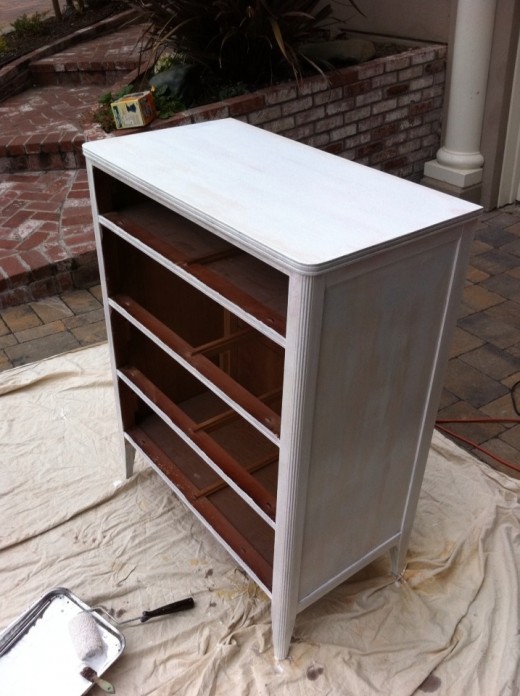
I pour the primer into a paint tray and then I use the small roller for all the flat surfaces to apply the primer. This goes on easily and works well on the solid wood pieces and the laminate. After all the big flat pieces are rolled, I touch up with a brush and get all the places that a roller won't work for like the grooves and the feet. To prime the dresser and four drawers it took about thirty minutes to apply the primer and I gave it about an hour to dry on a hot day.
Painting the Dresser
Click thumbnail to view full-size


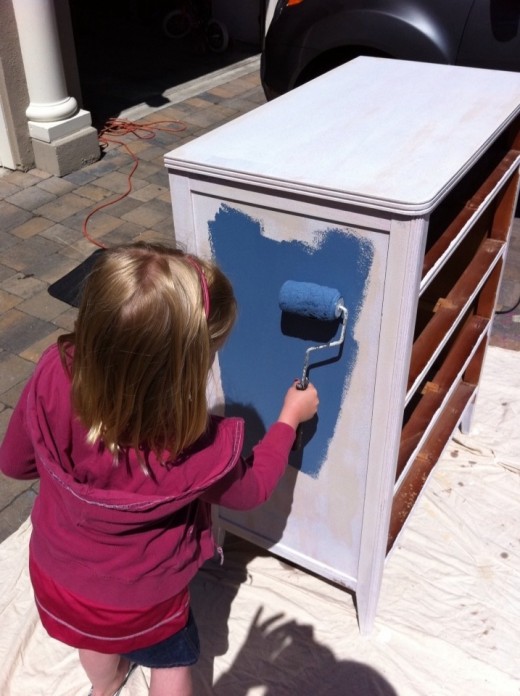
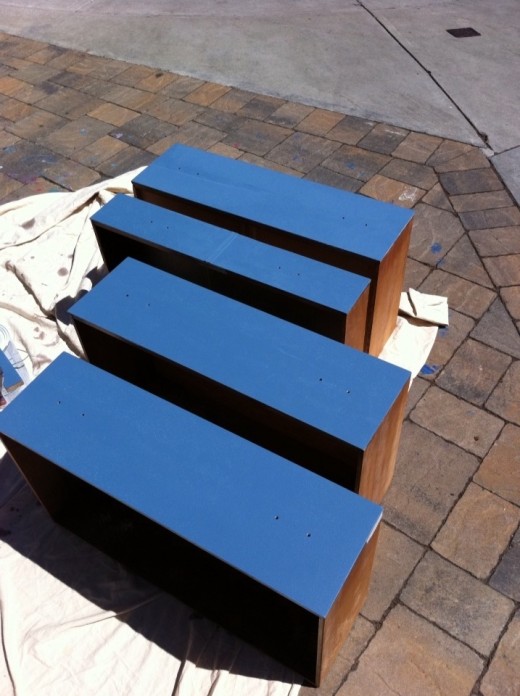
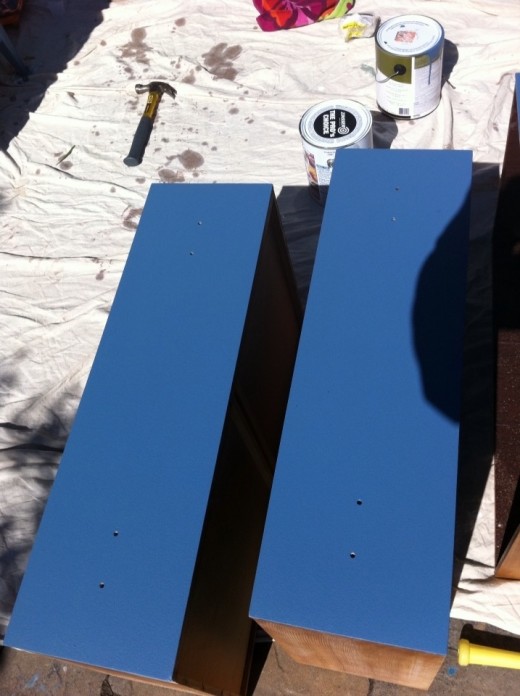
Applying the Paint
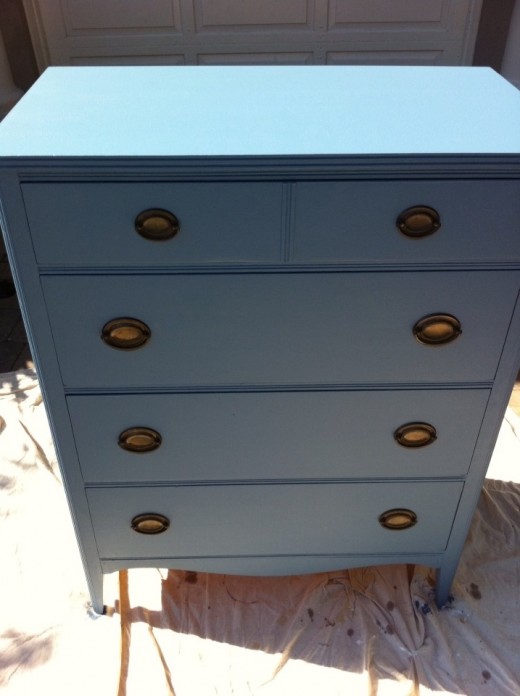
The first step is to select a paint color. My wife took a picture of the blue color she wanted to the paint store and had a gallon mixed up. To paint a dresser, two quarts is plenty of paint.
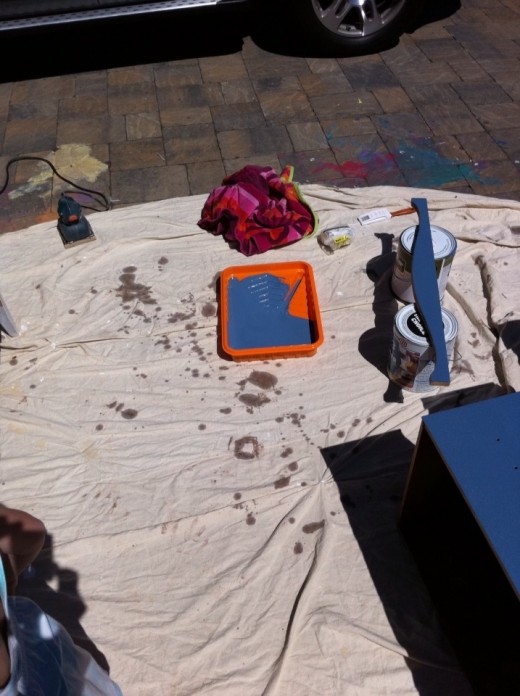
The tools needed for painting are the same as with priming. I get disposable paint trays, brushes and roller covers and throw them out when I'm finished, so I recommend two sets of each so one for priming and one for painting.
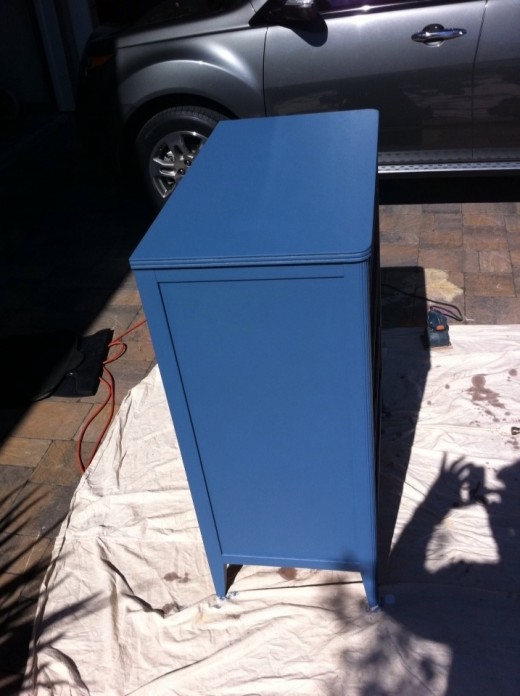
Pour the paint into the tray and roll the paint on the dresser evenly. Then touch up with a brush. Let the paint dry and then apply a second coat. If the roller and brush are placed in the freezer while the first coat dries, then they won't dry and can be used again for the second coat of paint.
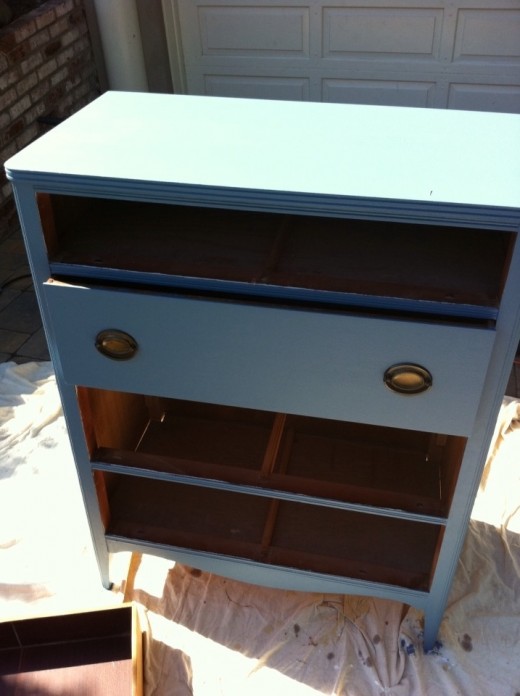
After the second coat is dry, put the hardware (dresser handles in my case) back on, and I recommend getting a glass top for the dresser. Our glass top is on the way and there you have a refinished dresser that takes about six hours from start to finish.


